
1. Introduction
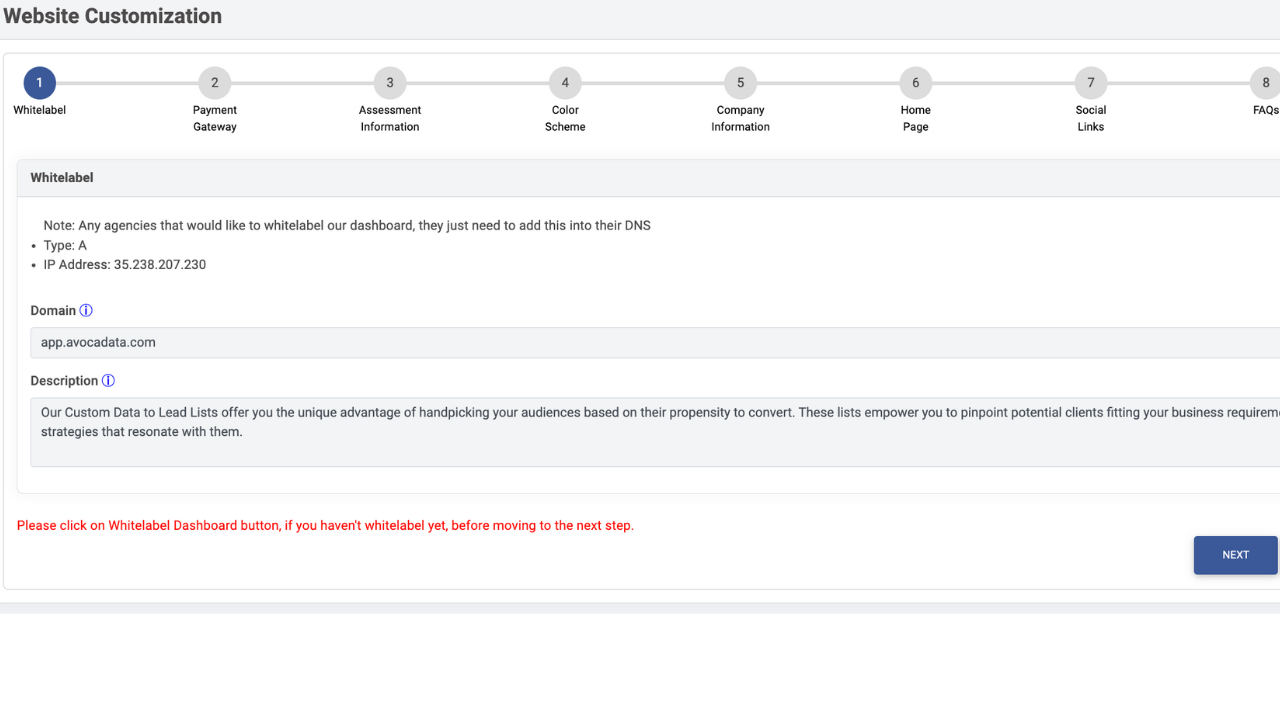
Hello everyone, this is Brian from AvocaData. In this guide, we'll walk you through customizing your website for your white-label data storefront. If you've watched our previous tutorials, you already know how to activate your domain and connect your DNS to an A-record IP address. Once your DNS is live, you can log into your white-label dashboard and begin customizing your storefront.
2. Planning Your Website
Once your DNS is pointed and your Stripe or Authorize.net merchant gateway is connected, you are ready to configure your site layout. Start by opening the homepage configuration settings inside your admin dashboard.
Establish Your Foundation
- Domain Setup:
- Connect your custom domain by pointing your root A-Record to your dedicated hosting server’s IP address.
- Verify SSL propagation and domain status to ensure secure HTTPS browsing.
- Payment Integration:
- Confirm your Stripe or Authorize.net API keys are authorized and active for automated subscription billing.
- Access the Admin Panel:
- Log into your white-label platform’s operator dashboard to manage page templates and pricing tiers.
3. Setting Up Customer Plans
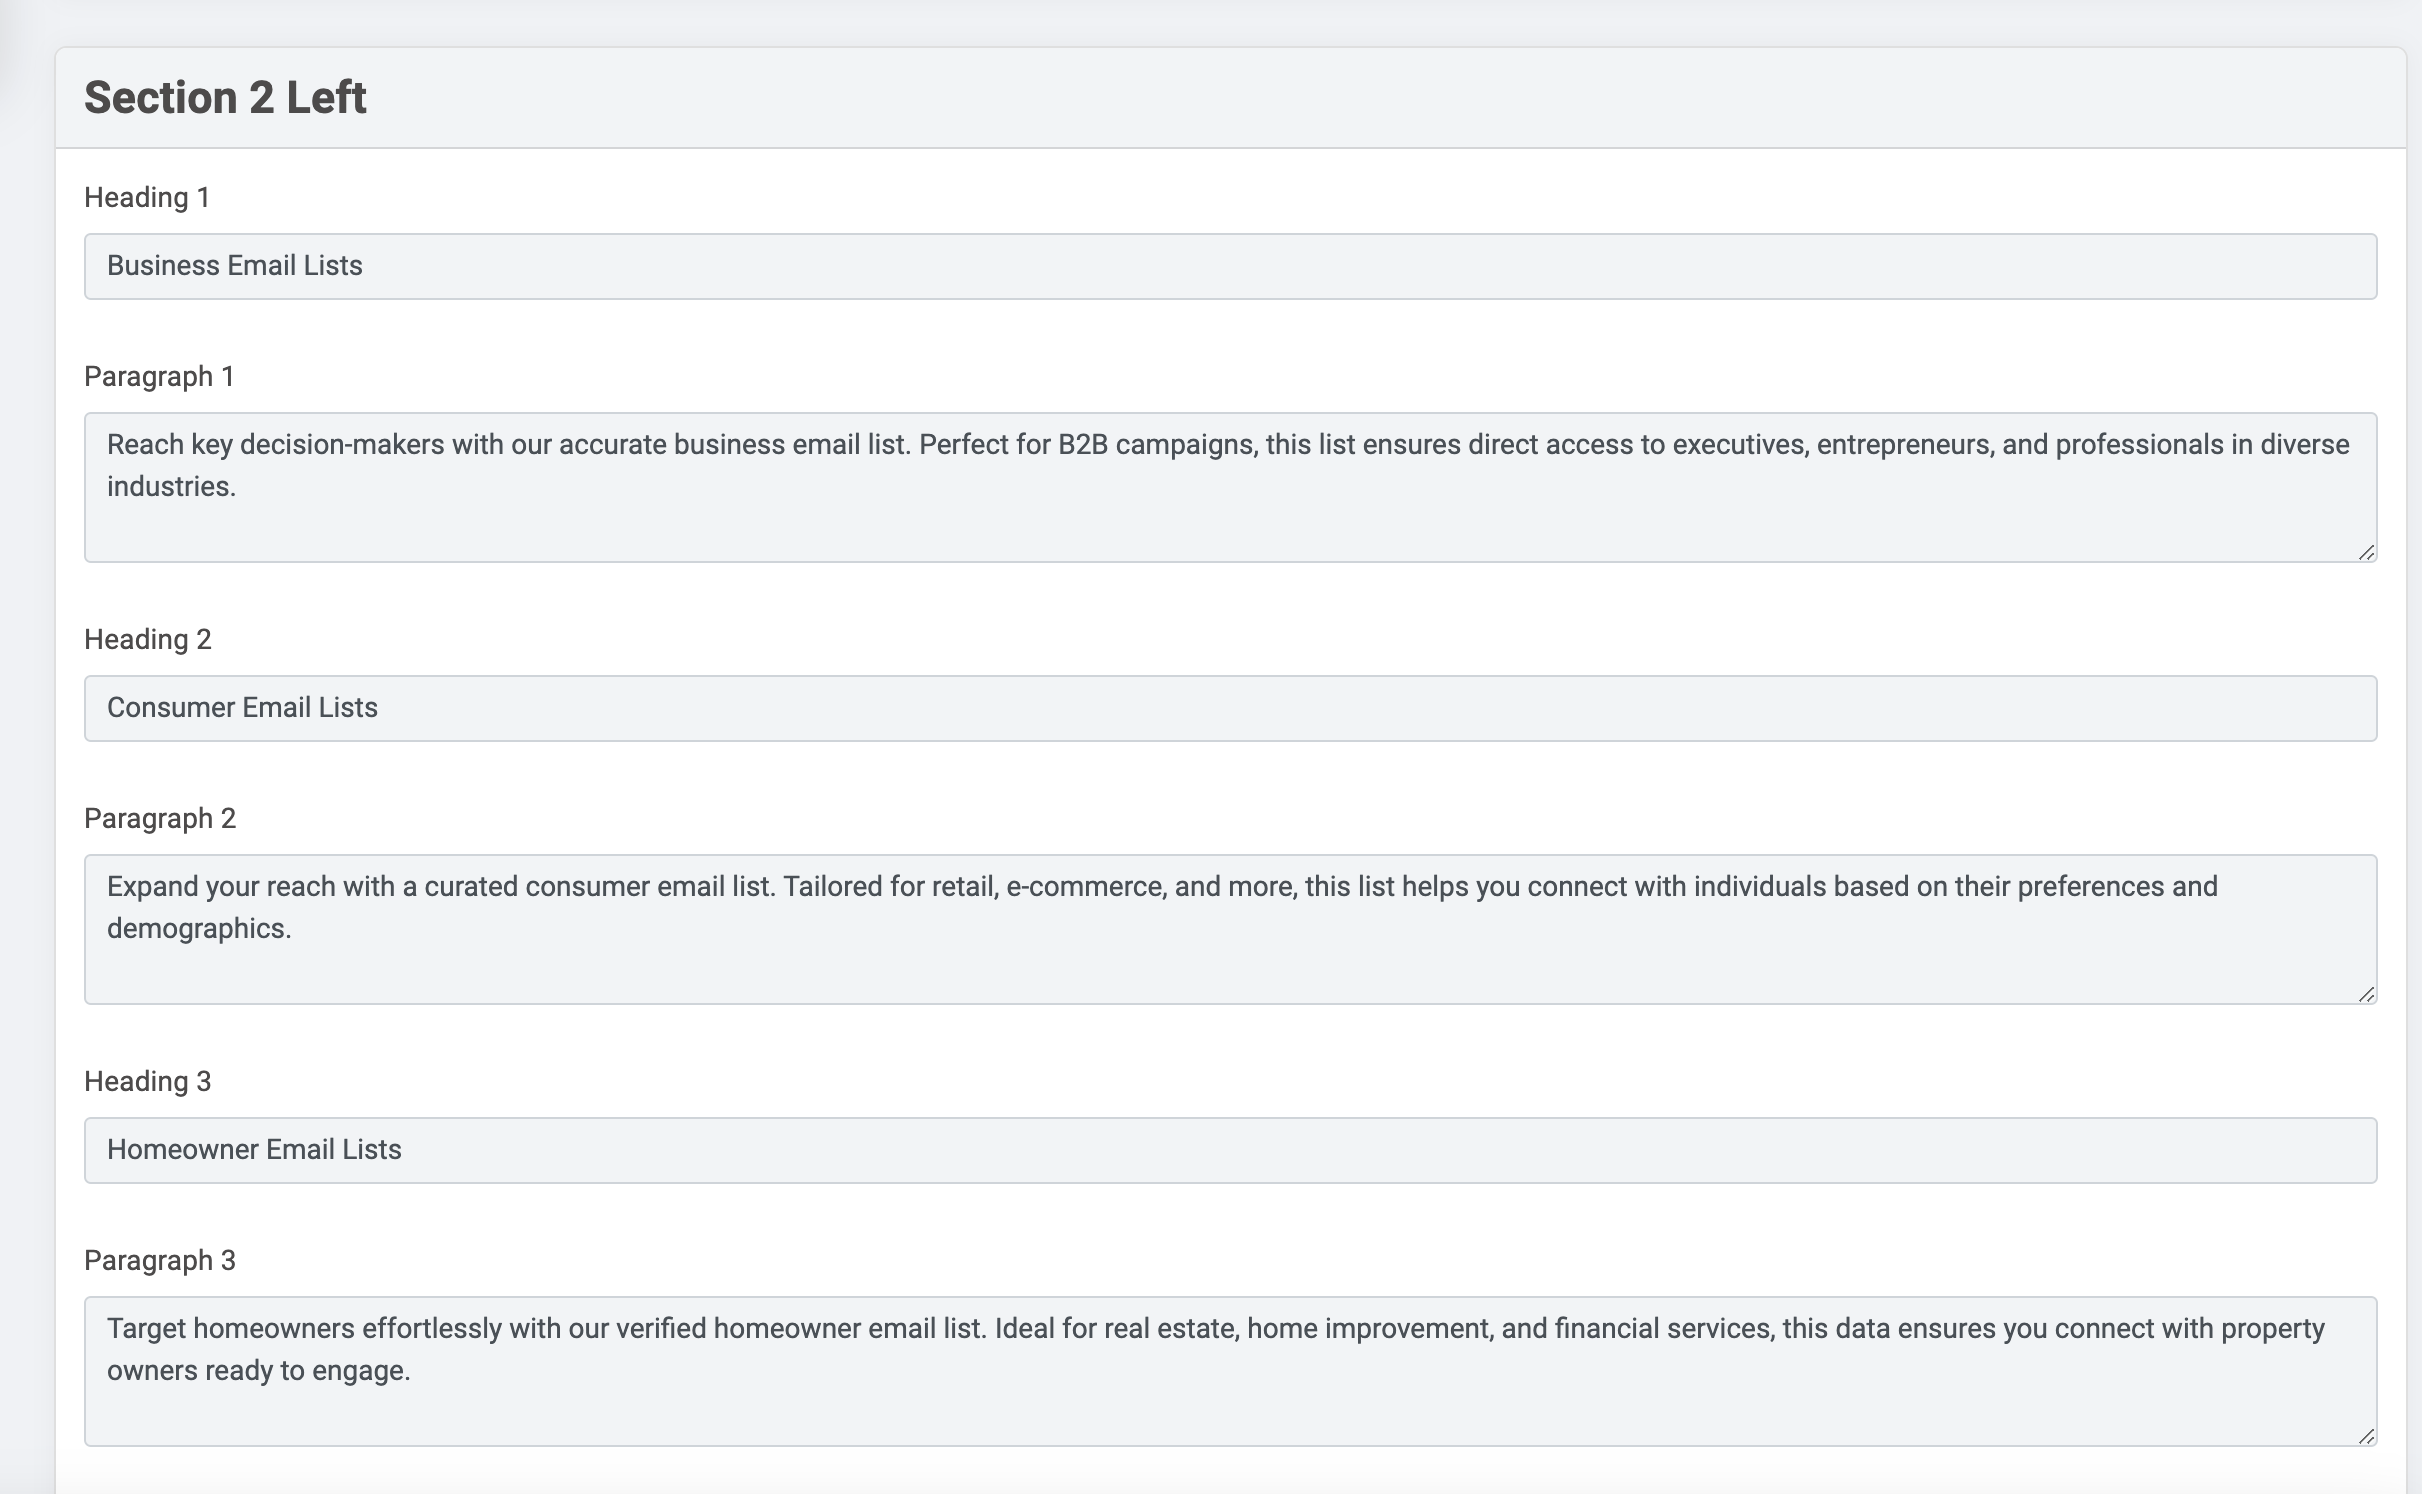
Structure your storefront's pricing and headlines around your target niche. For example, updating your hero headline to a high-converting offer like "Purchase Verified Email List Data for One Penny" immediately communicates value to outbound sales teams.
Develop Subscription Models
- Create tiered monthly pricing plans tailored to solo reps, mid-sized agencies, and enterprise call centers.
- Offer built-in discounts on annual subscriptions to maximize upfront cash flow and customer retention.
Add Custom Database Plans & Agency Packages
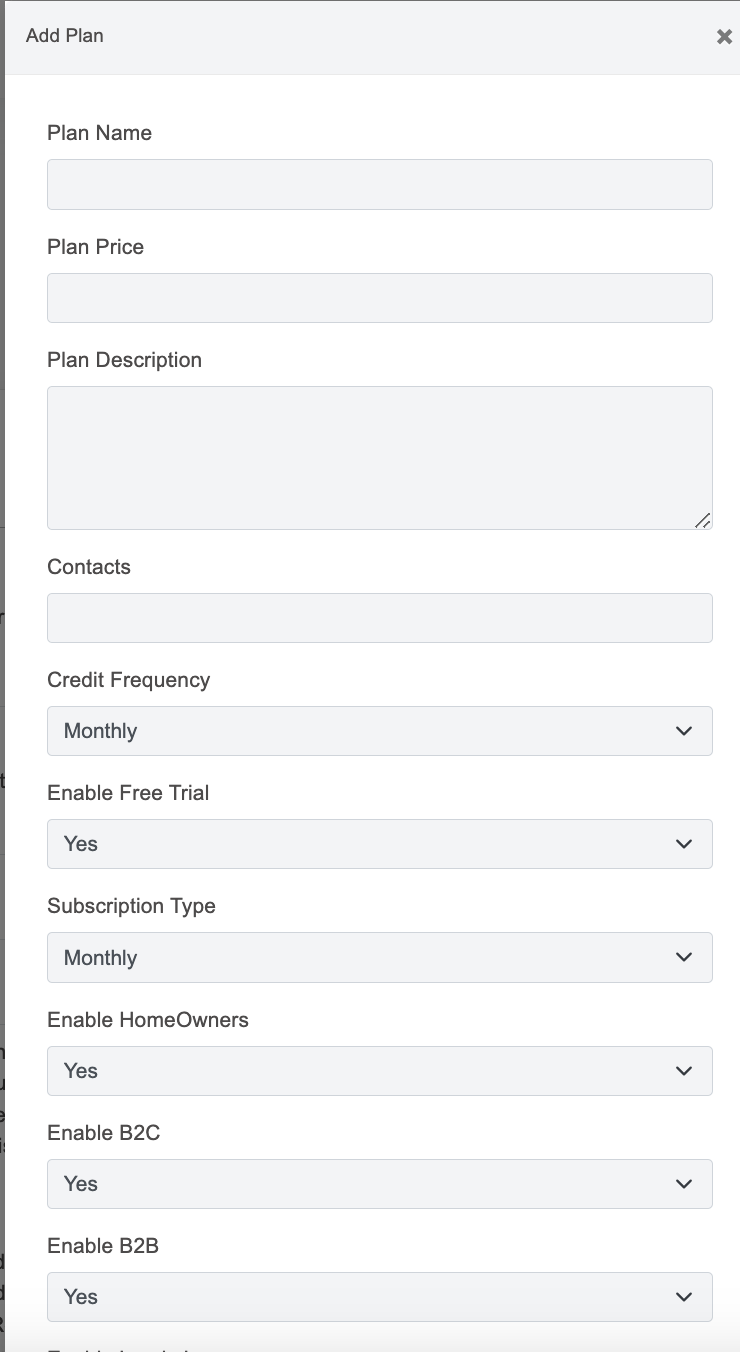
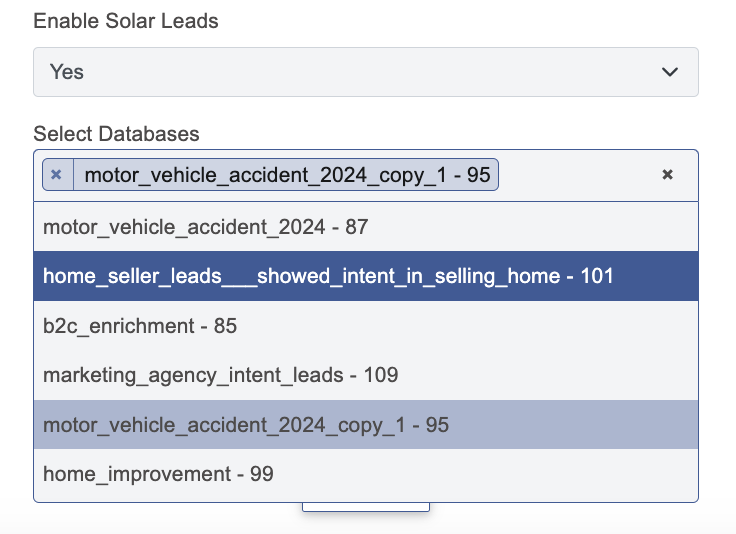
Select which specific databases you want to bundle into each subscription tier. Subscribers who purchase that tier will automatically unlock those datasets under their Custom Databases tab.
4. Creating Custom Lists
Give your buyers self-serve filtering power. Configure your data marketplace so subscribers can slice and export records by industry, state, zip code, demographics, and firmographics.
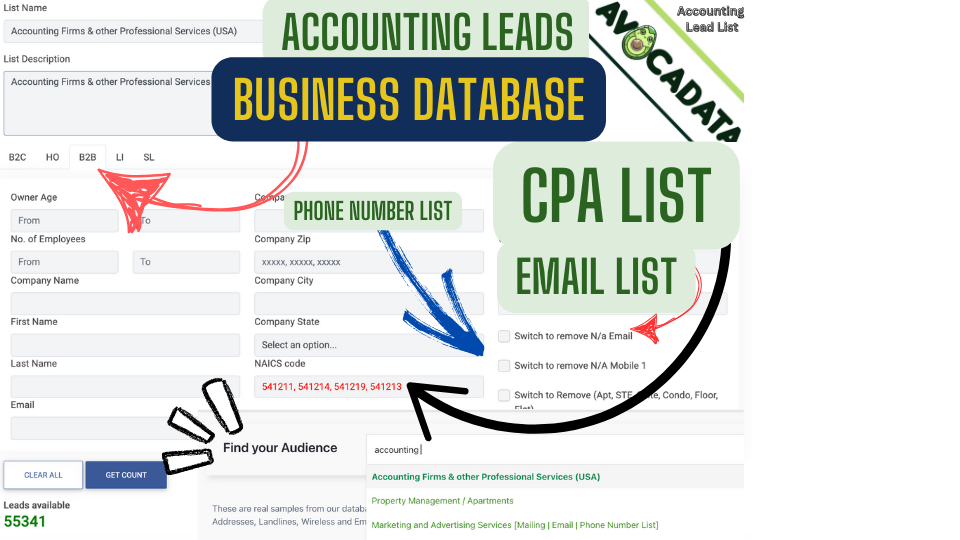
Data Marketplace Features
- Allow clients to preview sample rows, query live counts, and purchase datasets directly from your storefront.
- Enable granular search filters so buyers can zero in on their exact ideal customer profile (ICP) in seconds.
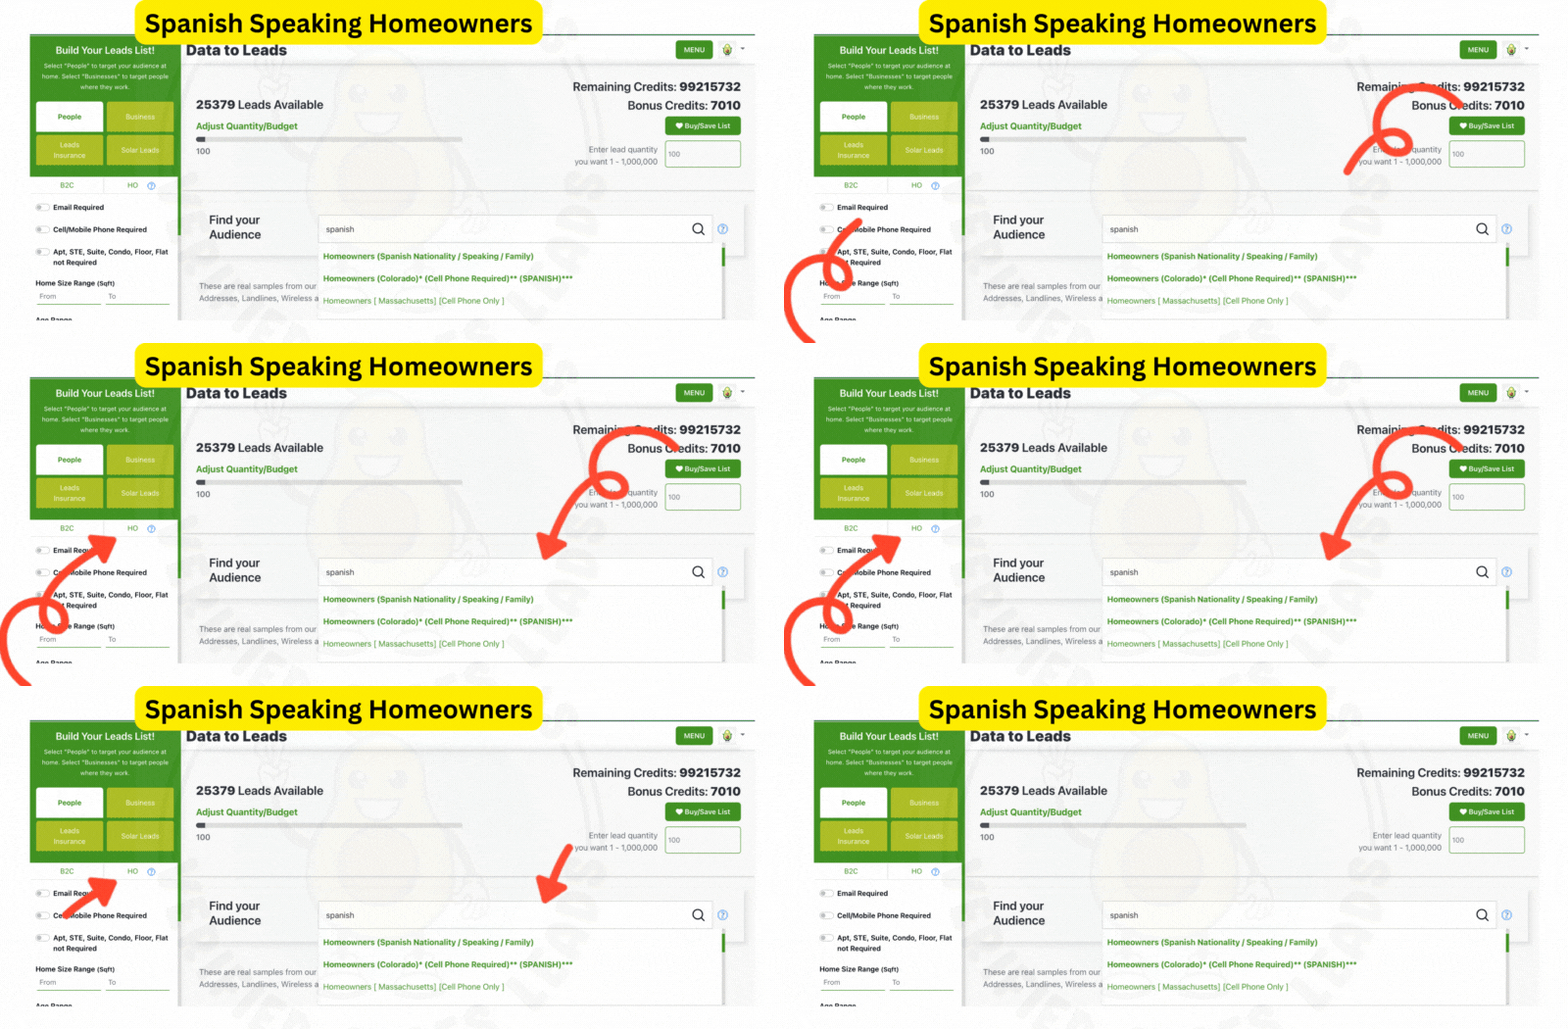
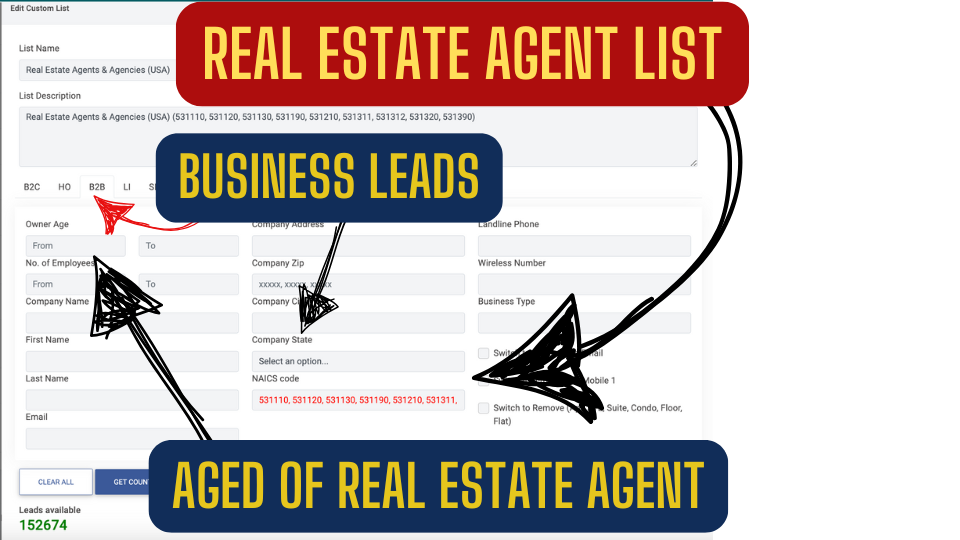
Build Lists of Real Estate Agents and Accounting Leads
Pre-filter custom lists of B2B leads using NAICS codes, SIC codes, job titles, or professional licenses so your buyers can immediately reach high-intent decision-makers.
5. Editing Website Information
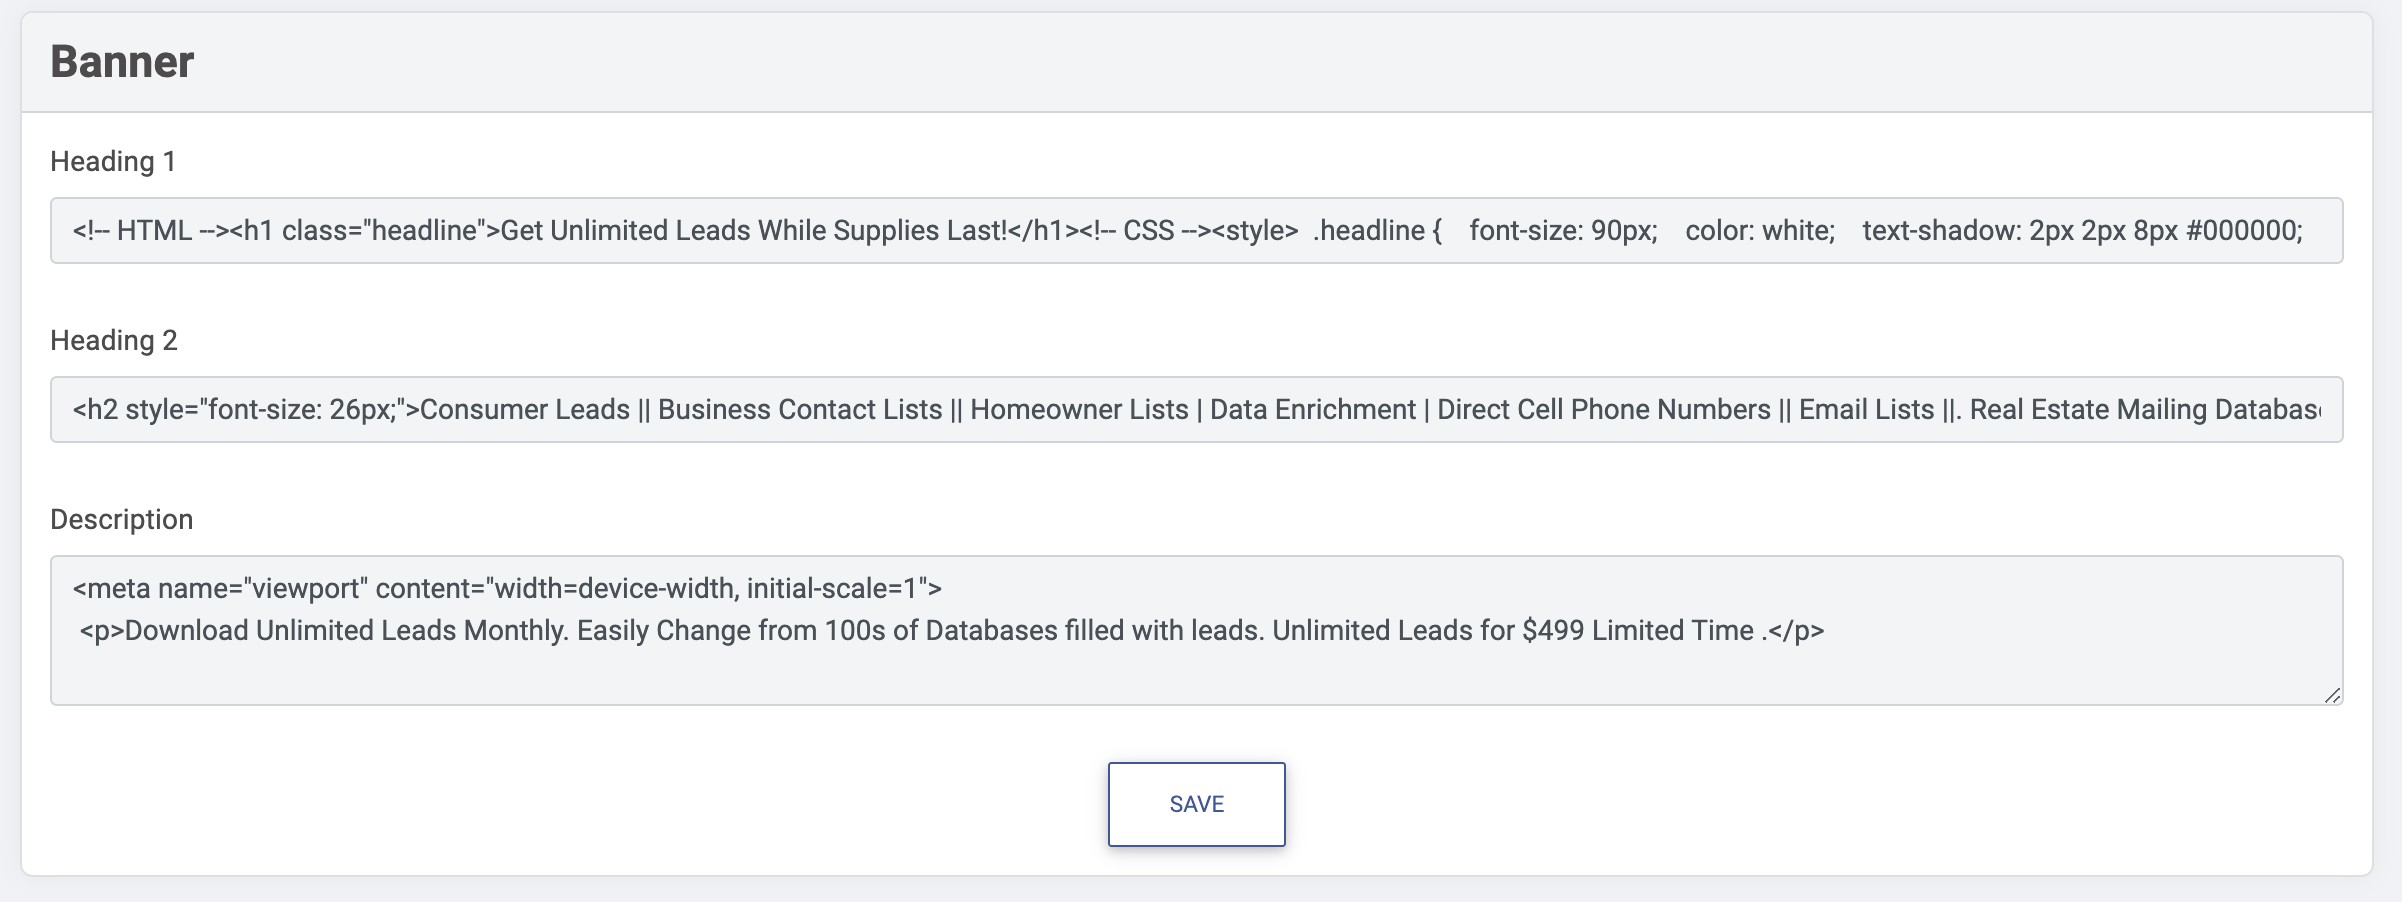
Tailor the copy across your landing pages to reflect your brand voice and SEO strategy. Clear, benefit-driven headlines and structured feature lists convert significantly better than generic placeholders.
Content Development Workflow
- Audit top-performing competitor storefronts to identify high-intent keywords and value propositions.
- Draft clean HTML content blocks with scannable subheadings and bulleted benefit lists.
- Paste your structured markup directly into the AvocaData visual website editor.
- Fine-tune section padding, margins, and alignment for a balanced desktop and mobile presentation.
6. Integrating Multimedia
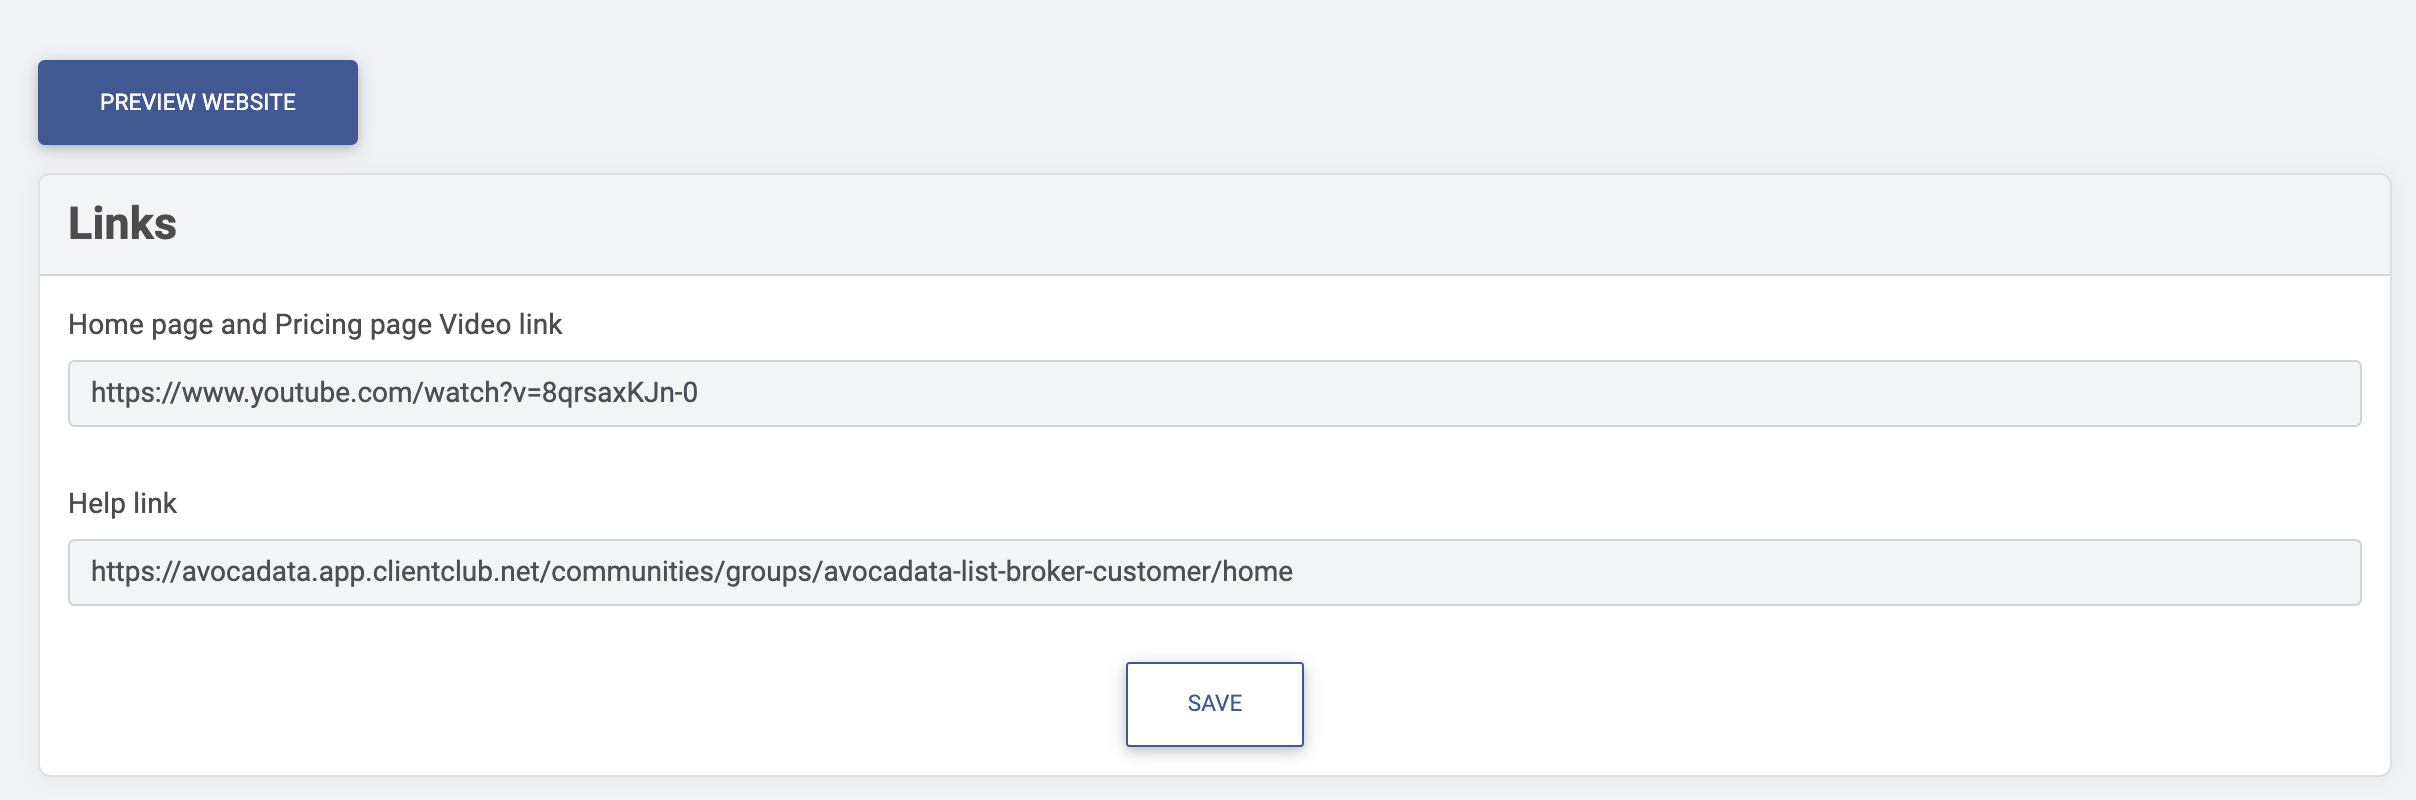
Pair your copy with crisp product screenshots, transparent PNG graphics, and explainer videos to build immediate trust with prospective data buyers.
Visual and Interactive Best Practices
- Design custom-dimension graphics in Canva that match your storefront's exact container proportions.
- Export assets in high-resolution PNG or WebP format with transparent backgrounds to avoid harsh white boxes.
- Upload your optimized graphics into the media manager and position them beside key value propositions.
- Test every interactive call-to-action (CTA) button to verify it routes cleanly to your registration or checkout URL.
7. Organizing and Cleaning Up
Audit your storefront layout to eliminate visual clutter, broken image wrappers, or redundant blocks that distract buyers from signing up.
Layout Optimization Checklist
- Standardize image aspect ratios and border styling across all feature cards.
- Strip out empty anchor wrappers or legacy borders that render unwanted outlines.
- Hard-refresh your live storefront URL across desktop and mobile viewports to verify visual polish.
- Adjust container spacing so each section breathes naturally.
8. Populating with Content & Custom Code
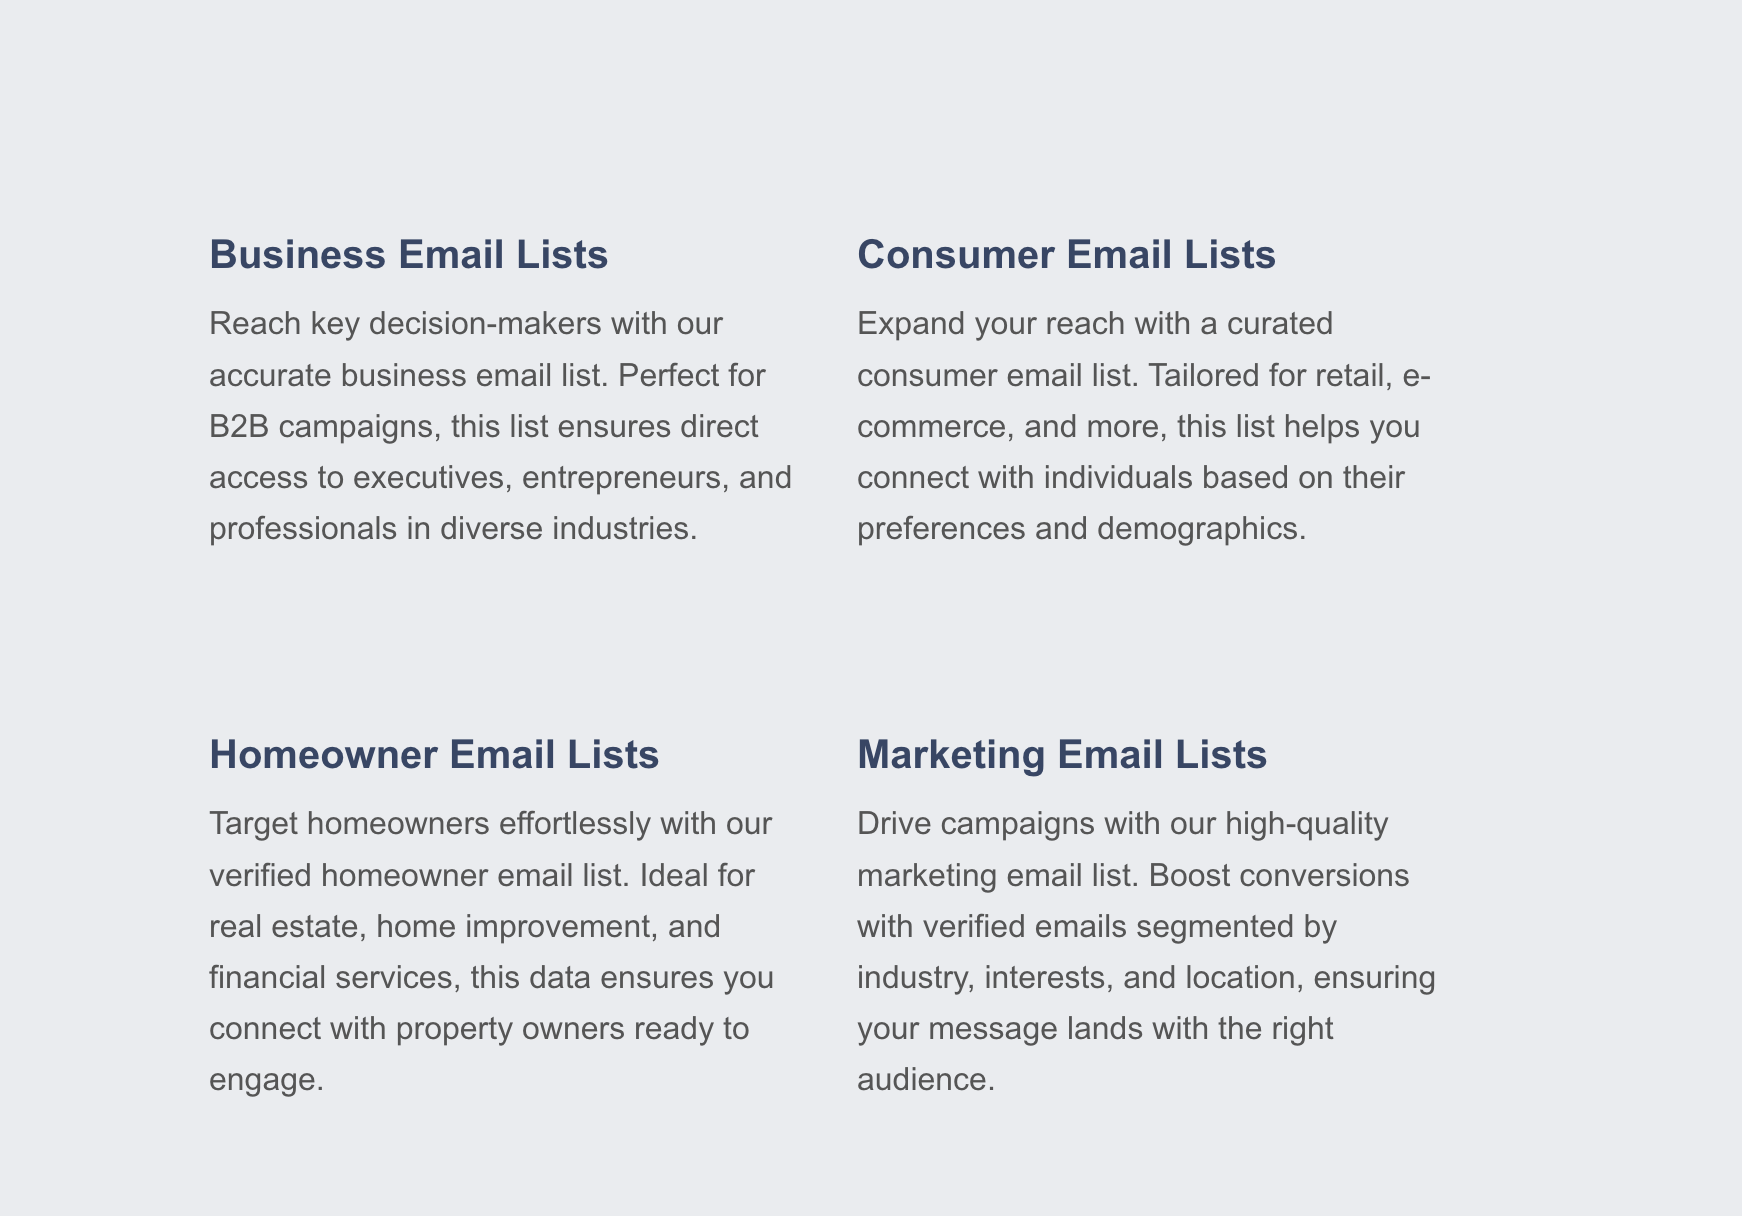
You can drop custom HTML and CSS snippets directly into your storefront editor to build high-converting lead category lists and responsive CTA button bars.
Content Implementation
- Paste prepared HTML blocks into your target page sections inside the dashboard editor.
- Pair lead category breakdowns with direct Free Sign Up and Watch Demo action buttons.
- Keep your featured datasets updated as you license new Data Bricks into your marketplace.
Understanding the Example Code
The snippet below provides a ready-to-use template for styling responsive images, lead product lists, and hover-animated CTA buttons inside your storefront editor:
<!-- CSS Styles -->
<style>
  /* Responsive Featured Image */
  #img1 {
    width: 100%;
    height: auto;
    box-shadow: 0 4px 8px rgba(0, 0, 0, 0.1);
    border: 2px solid #ffffff;
    border-radius: 8px;
  }

  .container-for-image {
    width: 100%;
    padding: 5px;
    box-sizing: border-box;
  }

  /* Call-to-Action Button Styling */
  .button {
    background-color: #ff4500;
    color: #ffffff;
    padding: 12px 28px;
    font-size: 18px;
    font-weight: bold;
    border: none;
    border-radius: 6px;
    cursor: pointer;
    text-decoration: none;
    display: inline-block;
    margin: 5px;
    text-align: center;
    transition: background-color 0.3s ease, transform 0.3s ease;
  }

  .button:hover {
    background-color: #cc3700;
    color: #ffffff;
    transform: translateY(-2px);
  }

  .button-container {
    display: flex;
    justify-content: center;
    flex-wrap: wrap;
    gap: 10px;
    margin: 20px 0;
  }

  @media (max-width: 460px) {
    .button {
      width: 100%;
      padding: 10px;
      font-size: 16px;
    }
  }
</style>

<!-- HTML Structure -->
<p><strong>Navigating the lead market effectively</strong> demands a strategic approach. Choose from a diverse array of verified lead types:</p>

<ul>
  <li><strong>Aged Insurance Leads:</strong> Tap into prospects actively interested in insurance coverage.</li>
  <li><strong>Aged Solar Leads:</strong> Verified homeowner records ideal for residential solar outreach.</li>
  <li><strong>Business Leads:</strong> Connect directly with B2B decision-makers and executives.</li>
  <li><strong>Consumer Leads:</strong> Engage targeted consumer segments by demographic filters.</li>
  <li><strong>Homeowner Leads:</strong> Target verified property owners for real estate and home services.</li>
  <li><strong>Data Enrichment Services:</strong> Append phone numbers, emails, and firmographics to existing lists.</li>
</ul>

<!-- Button Container -->
<div class="button-container">
  <a href="https://app.avocadata.com/register" class="button" aria-label="Sign up for a free account">Free Sign Up</a>
  <a href="https://app.avocadata.com/tutorial" class="button" aria-label="Watch the platform demo">Watch Demo</a>
</div>
Breakdown of the Code
-
CSS Styling:
#img1&.container-for-image: Ensures promotional banners scale fluidly to 100% of their parent column with clean border-box padding and depth shadows..button&.button-container: Styles anchor links directly as high-contrast orange CTA buttons inside a centered Flexbox row that wraps cleanly on mobile screens.@media (max-width: 460px): Automatically expands buttons to full-width tap targets on smartphones.
-
HTML Structure:
<p>&<ul>: Presents your core lead verticals in a scannable, SEO-friendly format.<a class="button">: Uses semantic anchor tags styled as buttons (avoiding invalid nested<button>tags inside<a>elements) and includesaria-labelattributes for screen reader accessibility.
9. Assigning Databases to Users
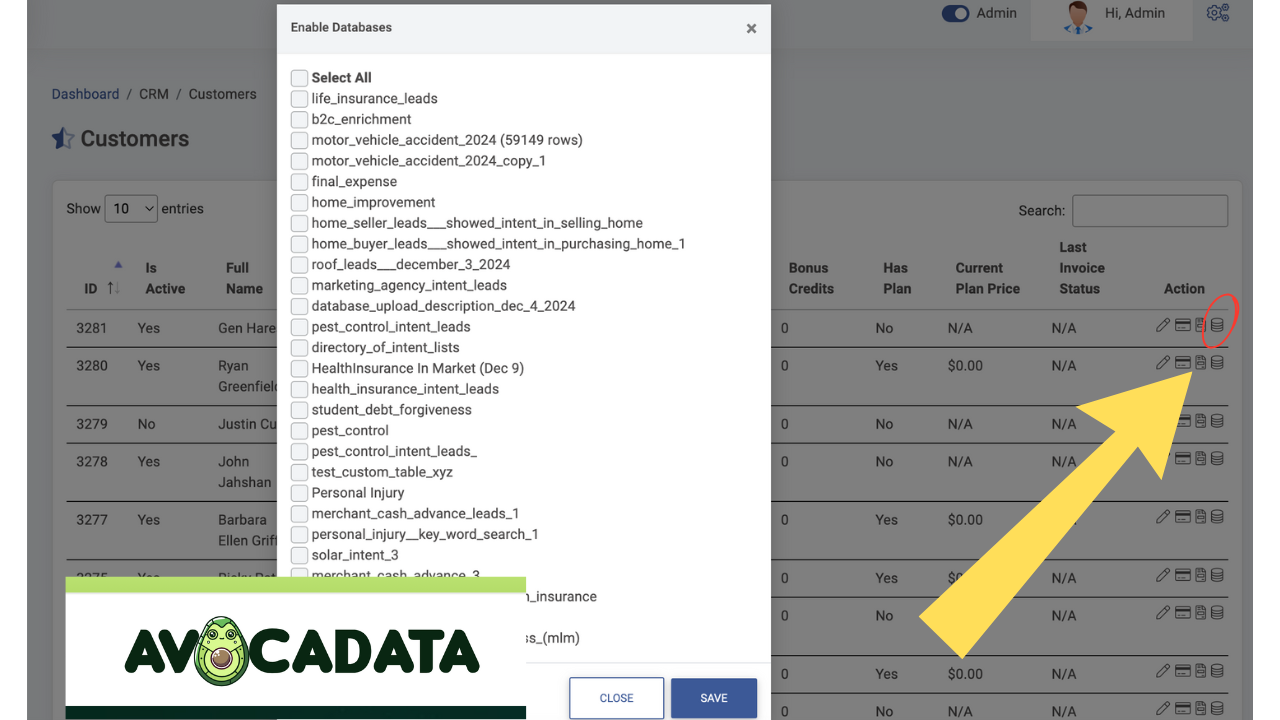
Once you have licensed or uploaded a database into your storefront, you can grant access to individual buyers manually or bundle it automatically into subscription plans.
Assigning a Database to a Specific User
- Navigate to Customers and CRM: From your white-label admin dashboard, open the Customers and CRM tab.
- Click the Database Icon: Locate the buyer's profile in your customer table and click the database assignment icon in the actions column.
- Verify Purchased Inventory: Only databases already added to your storefront appear in the assignment dropdown. Confirm your desired dataset is active under Purchase Database.
- Complete the Assignment: Select the dataset and save. The user will immediately see the database inside their portal.
10. Customizing Elements
Fine-tune your storefront's navigation bars, color variables, and checkout prompts to maximize buyer trust and conversion rates.
Key UI Customizations
- Brand Color Palette: Match your primary navigation header, accent badges, and CTA buttons to your brand's hex codes.
- Navigation Links: Add direct header links to your highest-margin custom lead lists, API documentation, and support desk.
- Trust Signals: Display compliance badges, sample download links, and customer testimonials directly above the pricing table.
11. Finalizing and Launching
Before driving paid traffic or outbound campaigns to your new data storefront, run through a complete end-to-end quality assurance check:
- Test Checkout Flow: Run a live $1 test transaction through Stripe or Authorize.net to confirm webhook provisioning and automatic account activation.
- Verify Database Permissions: Log in with a test subscriber account to confirm that assigned custom databases load, filter, and export CSVs within your configured rate limits.
- Mobile & Speed Audit: Check page load speeds and responsive layout rendering across iOS, Android, and desktop browsers.


